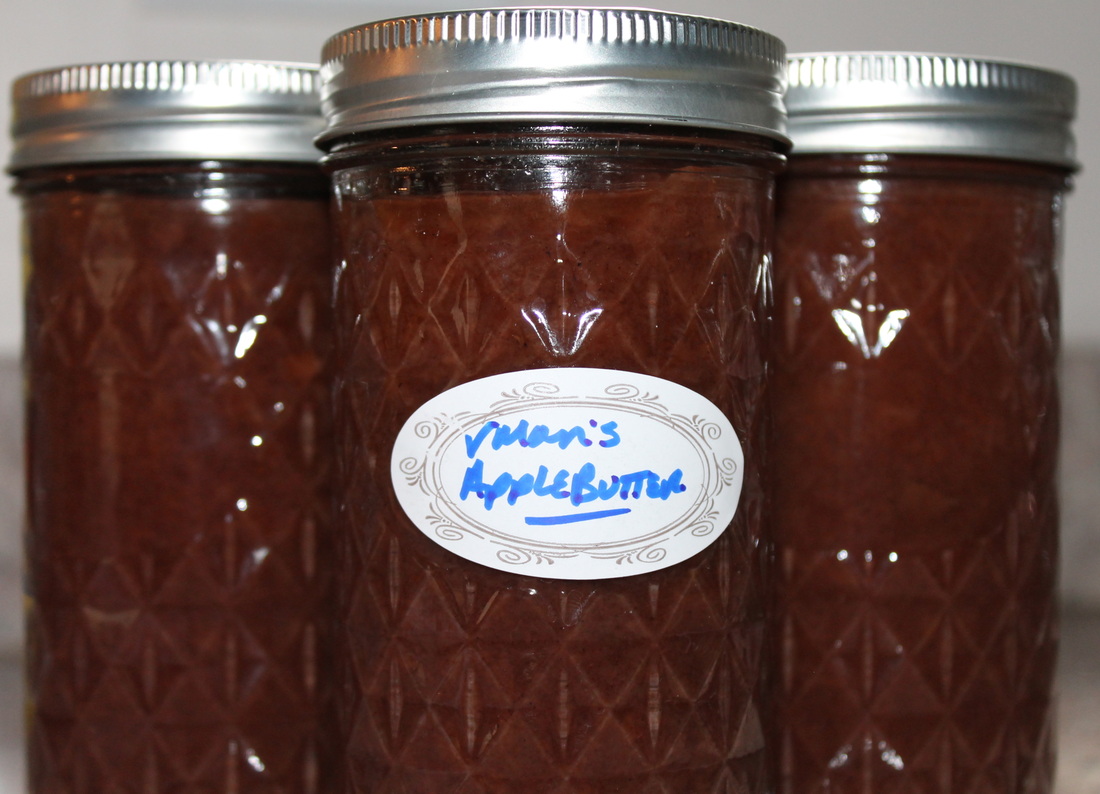
Vman's Apple Butter
Are you ready to get into this! O.k. This is really fun and surprisingly easy. The thing about cooking anything and having some level of success is proper planning and preparation. Cooking is it's own mini project plan. So let's get going.
|
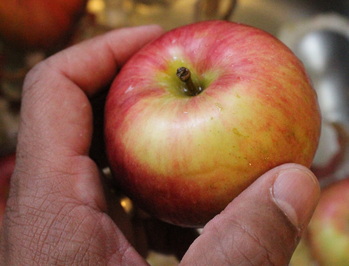
The first choice is the apple. If you enjoy a nice firm crunchy sweet apple. This will take a very long time to cook down into an apple sauce or apple butter. Red Delicious, Fuji, Pink Ladies, Granny Smiths, are all delicious apples for eating for frying up and Granny Smiths do make a great pie. But my choice for this batch of Apple butter is the McIntosh. The McIntosh has a sweet flavor but the consistency of its flesh is perfect for mashing up when cooked. Let's face it. One bit into a McIntosh and you get the mushy apple face look. Not great for eating, but excellent for cooking. I am using about twenty apples. |
|
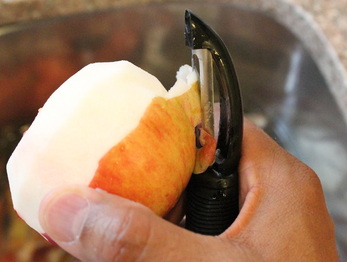
First We wash all the apples in nice hot soapy water. Here is where we begin the process of making sure we mitigate as best we can for impurities in the recipe. Then after a nice rinse we peel the apples. If you own one of those apple lathes that peel and core at the same time you are in good shape. I don't own one ...yet! So it's peeling apples like in the army. |
|
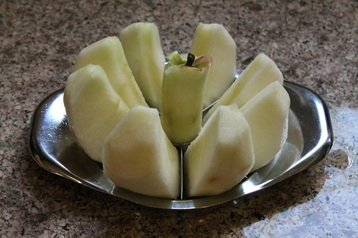
Pause for effect...... Ok the apples are all peeled. Now its time to core them and make sure all the husk around the seed area are removed. |
|
This is the standard corer and slicer. Each section should be checked to make sure all the husk has been removed. Then I slice up the sections to promote more effective breakdown when cooking. |
|
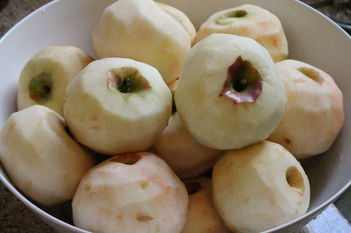
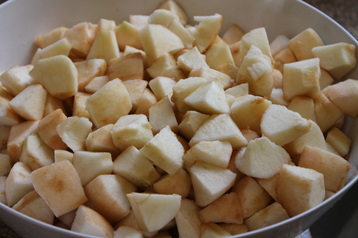
And there is my bowl of peeled, cored, and chopped McIntosh apples. Ready for the slow cooker and all the seasonings. |
Seasonings
About the seasonings:
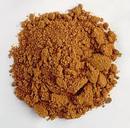
Allspice or Jamaica Pepper is commonly used in desserts in the U.S. and for the reason that it has a flavor resembling, clove, cinnamon, and nutmeg it is known as Allspice. I use it as an enhancer to the other ingredients without having to go back and add a dash more of the others.
Clove is powerful, and really is what gives apple butter its zesty true apple butter flavor. The flavor which separates it from a cinnamon apple sauce. But this is a balance between that zest and the sweet from the brown sugar. This is where you will put your discernment into practice and taste for the balance as it cooks. Add more of the ingredient that is needed.
Caution: As the apple butter ages in the jar, the flavors will become more awake. So don't over do it. Flavors can mellow with time.
Brown Sugar...well we know "brown sugar" is good...no need to elaborate on this. LOL!
Nutmeg is the flavor of the holidays and brings a nutty mellowing aromatic flavor to apple butter with out over riding any other ingredient.
Allspice...2 tbsp
|
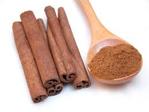
Cinnamon...4 tbsp
|
Brown Sugar 1.5 cups
|
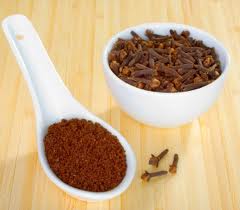
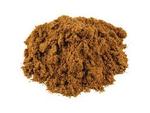
Ground Clove...2 tbsp
|
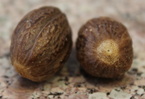
Nutmeg (Ground) 1 tbsp
|
Slow Cooking
|
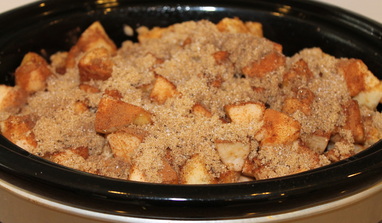
With your apples in the slow cooker and the ingredients added also, it is time to cook. Set slow cooker to "high" and let the apples cook for about 7 hours. Or set the slow cooker to "Low" and cook for 10-12 hrs Every "2 hours" Give it a good stir and taste for adjustments! |
|
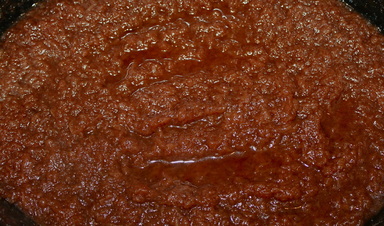
This is my batch after cooking for 7 hours on HIGH |
Canning
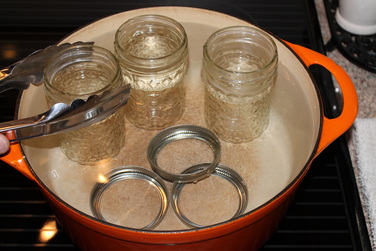
Image 1 - Jars and Rings
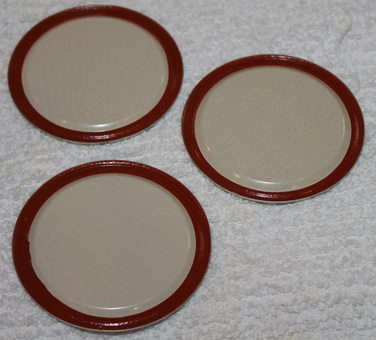
Image 2 - Sealing Top
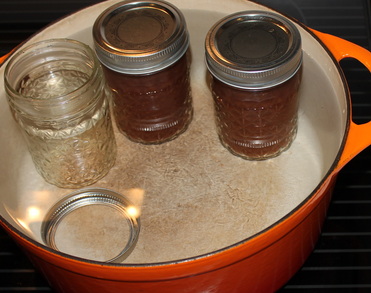
Image 3 - Return to Hot Bath
|
First: Nothing magical about canning. The preparation makes sure that you are using clean and sterile jars that will seal properly to promote preservation. Hence the word "preserves". The jars are heated in a large heavy pot of water just to boil, then lower the heat. The idea is to match the heat of the jars to the heat of the apple butter. Hot apple butter going into a cold jar would break the glass. You want both the jar and the apple butter hot. Second: The canning lids are two piece. (Image 1) Rings and sealing top. The rings go into the hot water bath with the jars. The sealing top is not boiled but given a quick dunk to kill any bacteria before sealing the jar. (Image 2) When filling the jars with apple butter leave abut an 1/2 to 3/4 inch airspace at the top. DO NOT FILL TO THE BRIM. Then place the seal top in place. Add the ring and twist into place but not too tightly. Third: The filled jar is now placed back into the hot water bath for about 3 minutes. (Image 3) Remove the filled jar from the bath and let it cool naturally. As the jar and contents cool, this creates a vacuum under the lid. You will hear the lid click as it reaches it vacuum pressure. Your jars are now vacuum sealed and ready for storage in a cool dark place. When opened, they must be stored in the refrigerator and the contents used within two weeks. Happy Canning!! --VMAN! |